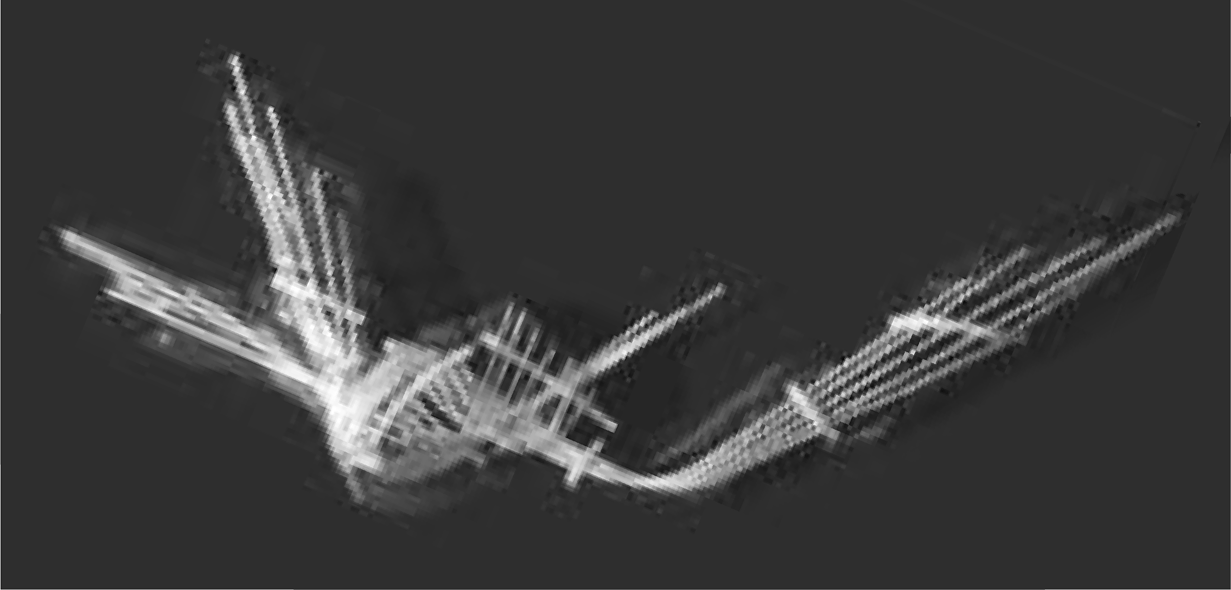
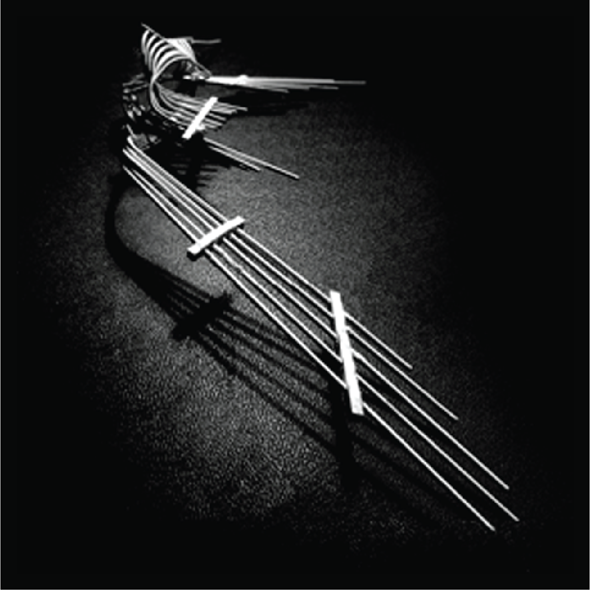
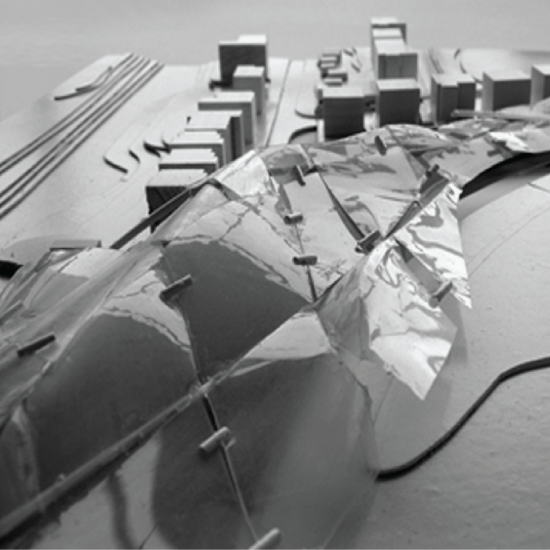
The principal materials used in the construction of the model are a white plastic coated wire, plastic square sections, and a base of card mountboard over an MDF base.
As a first step, the plastic coated wire is gathered into bundles of 5 and laid parallel on the board.
Plastic square sections are now cut to varying lengths and punched with a series of equally-spaced holes to match the diameter of the wire. The square sections will be used to clamp and space the wire at regular intervals provide lateral stability.
The plastic coated wire is now fed through the holes. Once the wire has been threaded, the square sections can be slid along the wire to adjust the spacing and support of the wire. This must be done carefully to prevent the premature distortion of the wire.
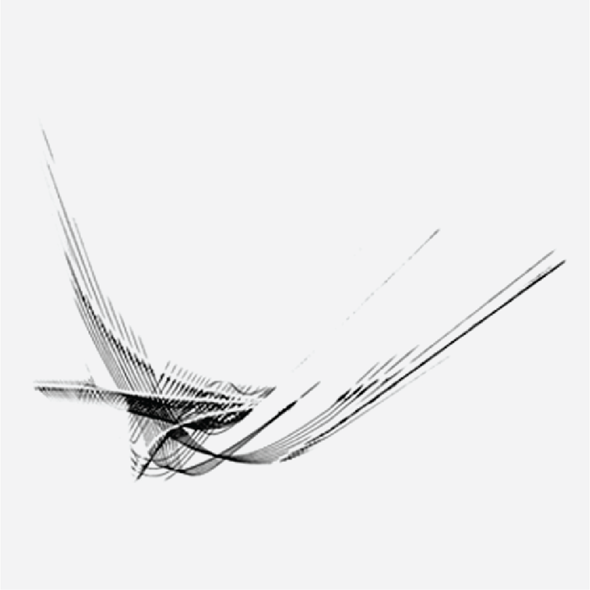
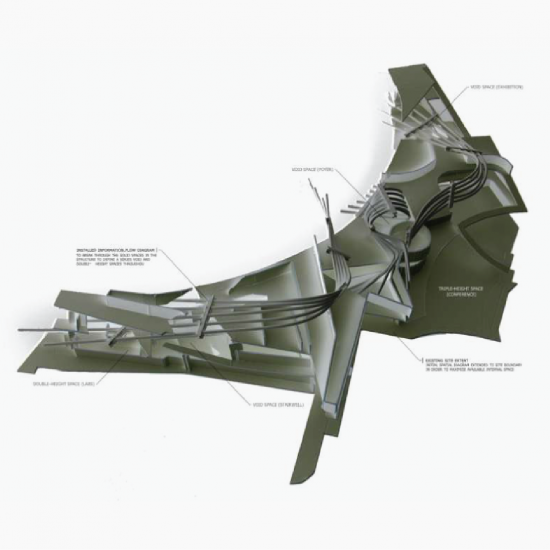
Once the clamped wire sections are complete, they are ready to be bent to their required form. These clamped sections have the benefit of serving as both a linear section and a place, and can be bent to any required form. A number of sections forming ribbons can be used to gesture towards more complicated forms.
To assist with any curved distortion, it may help to make use a cylindrical object of the required diameter. The clamped wire sections can be physically wrapped around the cylindrical form. The plasticity of the wire will result in some ‘springback’. The wrapped objects can therefore be fixed temporarily until the wire has reached its full extent of distortion.
Once the clamped wire sections have been successfully distorted, all that remains to do is fix each one into it required position. A plastic adhesive may be employed to fix to a card base, as I have done. For greater aerial possibilities a nylon wire hung from a cradle structure could be adopted to suspend the objects in their required position.
